Baking bread in a wood fired oven: the complete guide
Baking bread in a wood fired oven: the complete guide
What temperature does a wood fired oven need for bread?
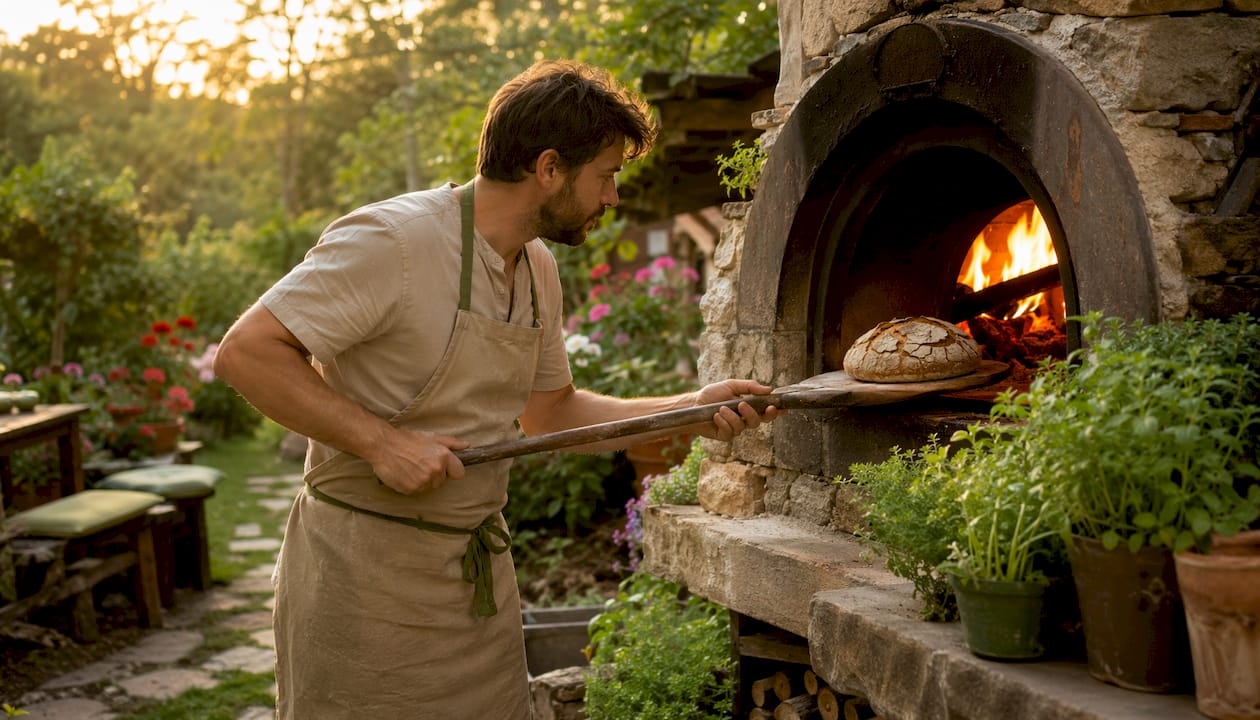
Baking bread in a wood fired oven demands a very different heat profile from pizza. The oven floor should sit at 200–250°C and the dome at 250–300°C for bread to bake through properly. Pizza needs a floor temperature of 350–400°C or higher; loading a loaf at those temperatures produces a charred crust and a raw interior.
Getting those numbers right is only half the task. The other half is creating the right environment inside the oven before the dough goes in.
Key conditions for successful wood fired bread baking:
- Floor temperature: 200–250°C, measured with an infrared thermometer at the centre of the baking area
- Dome temperature: 250–300°C, checked at the inner apex of the dome
- Heat soak: allow 1–2 hours after the fire dies down for heat to redistribute evenly through the thermal mass
- Wood choice: use seasoned hardwoods such as oak, cherry, or maple; avoid softwoods like pine, which burn fast and produce excess soot
- Steam: trap moisture inside the oven during the first phase of baking to keep the dough surface pliable and promote a crisp, shiny crust
- Baking surface: a well-seasoned stone hearth or a preheated baking stone conducts heat directly into the base of the loaf
- Flour quality: Shipton Mill, a well-regarded UK flour brand, is widely recommended for artisanal bread where flavour and crumb structure matter
- Safety: always use long-handled tools, heat-resistant gloves, and a metal container with a close-fitting lid to extinguish embers safely
The larger the loaf, the lower the floor temperature should be. Smaller loaves bake well at higher floor temperatures, whereas larger boules require lower sole temperatures to cook through without burning.
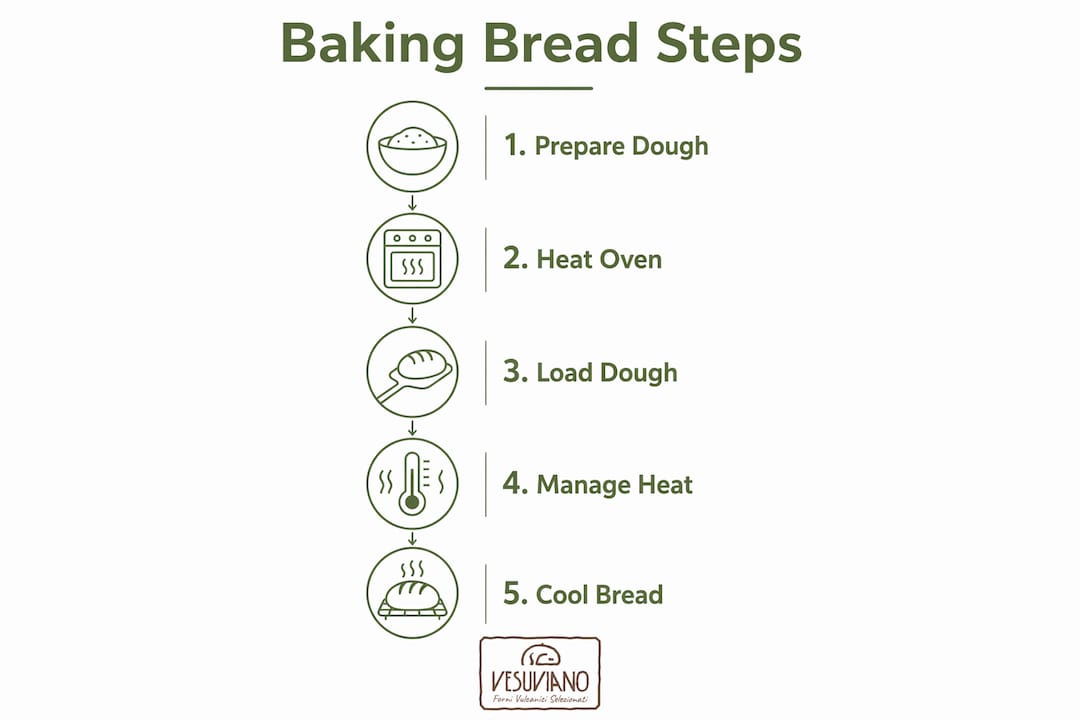
How to prepare dough and bake bread step by step
Dough preparation
Good wood fired bread starts with the right dough. A higher hydration than you might use for a tin loaf gives you the open crumb and blistered crust that the oven’s radiant heat rewards. Shipton Mill’s range of stoneground and heritage flours works particularly well here, offering the protein structure and flavour depth that artisan loaves need.
- Mix your flour, water, salt, and starter (or yeast) and develop the gluten through a series of folds rather than intensive kneading
- Allow a long, slow first rise at cool room temperature; this builds flavour and gives you flexibility around oven timing
- Shape your loaves and place them in floured proving baskets (bannetons or cloth-lined bowls work equally well)
- Time the final prove so the dough is ready when the oven reaches bread temperature, not before
Firing and preparing the oven
- Build the fire with dry, seasoned hardwood and bring the oven up to around 250°C on the floor and 300°C in the dome if you are baking bread only, without a prior pizza session
- Once the fire has burnt down, spread the embers across the floor briefly to heat it evenly, then remove them into a metal container with a lid
- Mop the floor with a damp cloth on a long handle; this cleans ash and can drop the sole temperature by up to 30°C if it is still running too hot
- Use a blow pipe to clear any remaining ash from the baking area
- Allow the oven to soak for 1–2 hours with the door on, checking the temperature every 20–30 minutes until the floor and dome readings stabilise in the bread range
Baking the loaves
- Score each loaf decisively with a sharp lame or blade just before loading; this controls where the loaf opens and prevents blowouts
- Slide the loaves onto the hearth using a floured peel, or place them inside a preheated Dutch oven or cast iron pot for easier heat and steam control
- Fit the oven door snugly; a close-fitting door traps moisture and promotes oven spring
- Bake for 25–40 minutes depending on loaf size, rotating the bread halfway through if there is a heat gradient across the floor
- Steam conducts heat rapidly to the dough surface and keeps it pliable during the initial rise; a Dutch oven lid or a small metal bowl of boiling water placed beside the loaves achieves this without dousing the fire
How to manage oven temperature while baking
Temperature management is where most bakers struggle, and where the wood fired oven rewards patience. The oven does not hold a fixed setting the way a kitchen oven does; it is always moving, always cooling or climbing, and your job is to read that movement and work with it.
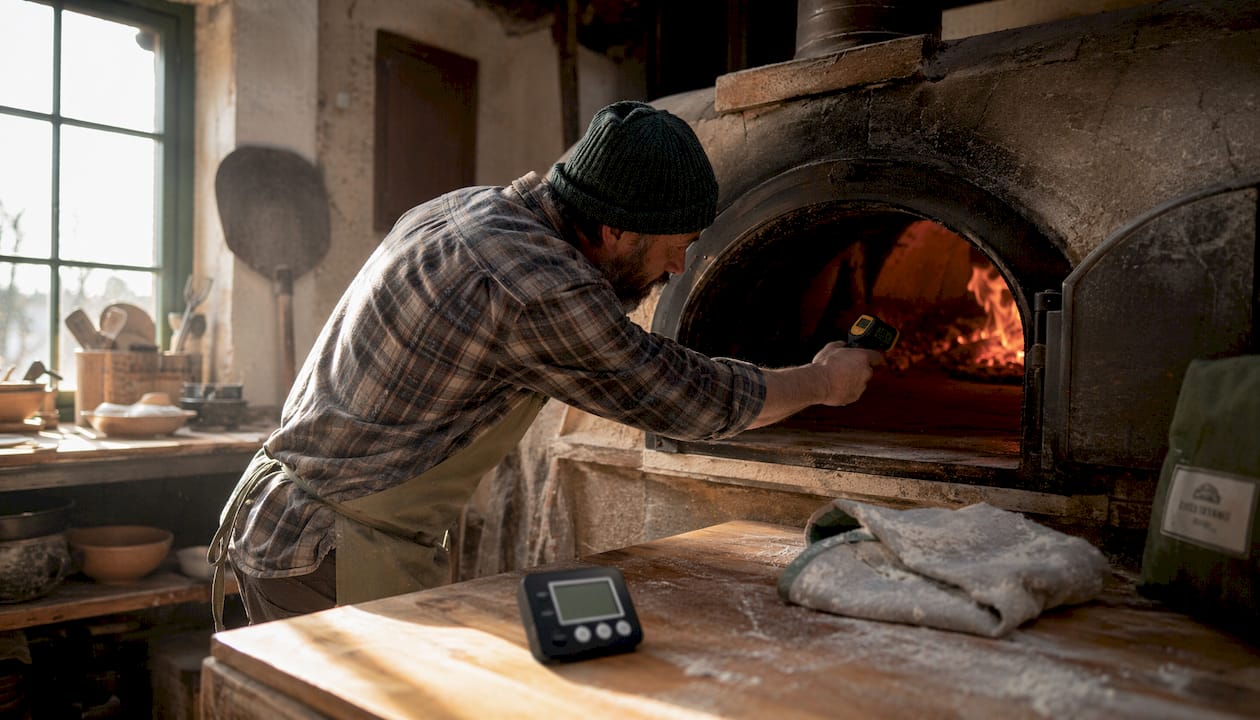
An infrared thermometer is the single most useful tool you can own. Models with a range up to 500°C cost around £30–£40 and let you measure the floor, the inner dome, and the outer dome separately. That outer dome reading tells you a great deal about insulation quality: a well-built oven with good thermal mass may show an exterior dome temperature as low as 60°C even when the interior is at 400°C, whereas a lighter, cheaper oven will be far hotter to the touch outside.
Techniques for maintaining the right baking environment:
- Wait for the oven to cool from pizza temperatures (350–400°C on the floor) down to the bread range before loading; rushing this step is the most common beginner mistake and produces burnt crusts with raw centres
- Place the fire to the side of the oven rather than at the back; this creates a temperature gradient across the floor that lets you rotate loaves toward or away from the heat source
- Use a close-fitting door or a metal heat deflector to hold moisture and slow the cooling curve
- If the oven cools too quickly during a long bake, add a small amount of charcoal rather than fresh wood; charcoal adds heat without producing smoke that can taint the crust
- Check the temperature of the outer dome and beneath the floor if possible; these readings reveal how much heat is stored in the thermal mass and how long the baking window will last
Ovens with greater thermal mass, typically heavier, better-insulated constructions, hold the bread temperature for longer and require shorter soak times. Lighter ovens heat fast but cool fast too, which means you need to be more active in managing the fire during the bake. Understanding oven heat retention is not a one-session lesson; it builds over repeated firings.
Pro Tip: After a pizza session, close the door and check the temperature five or six times over two hours without baking anything. You will learn your oven’s cooling curve faster this way than through any number of burnt loaves.
How do you know when your bread is fully baked?
A wood fired loaf gives you several clear signals when it is ready, and none of them require guesswork.
Visual and tactile checks:
- The crust should be a deep, even golden brown with no pale patches; a patchy crust usually means uneven heat distribution or insufficient baking time
- Tap the bottom of the loaf firmly with your knuckle; a hollow sound confirms the interior has set and the moisture has driven off
- The loaf should feel noticeably light relative to its size; a heavy loaf that looks done on the outside is often still wet inside
- An internal temperature of around 96°C confirms a full bake and optimal crumb structure
Typical baking times run from 25 minutes for smaller loaves up to 40 minutes for a large boule, but oven conditions vary enough that timing alone should never be your only guide. A loaf that has had good oven spring, a cracked score line, and a firm, resonant base is ready regardless of the clock.
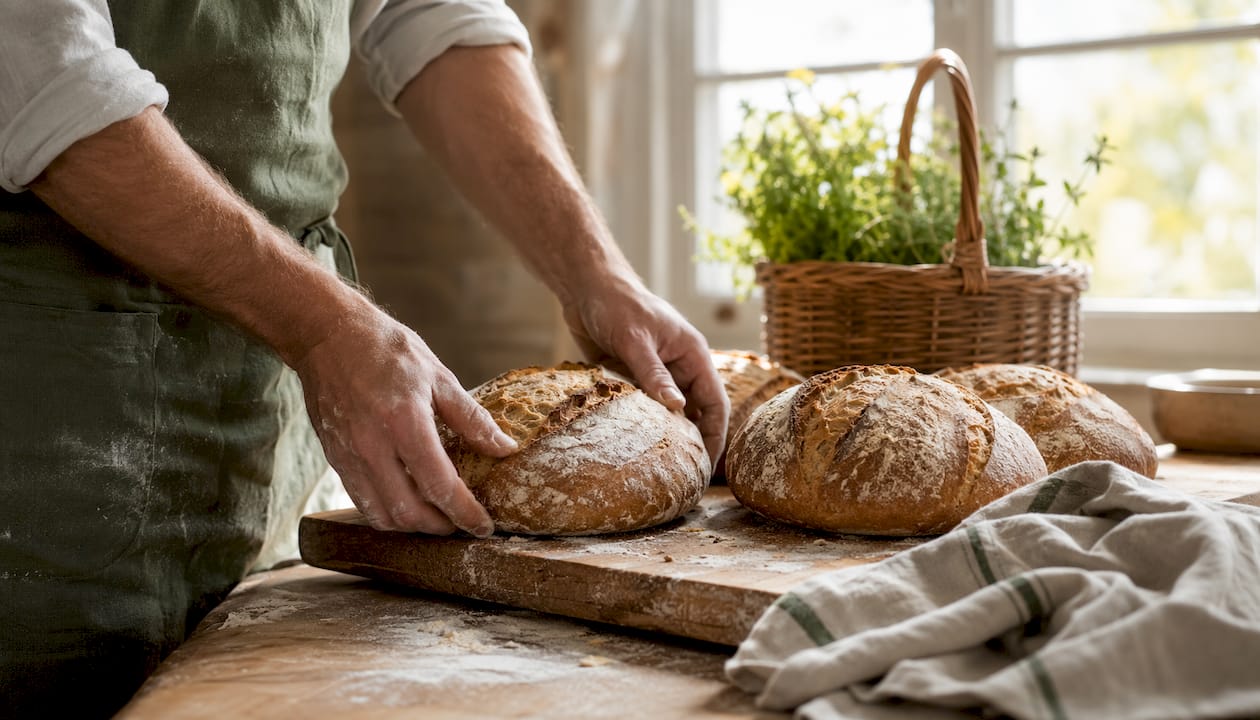
Cooling matters as much as baking. Starch gelatinisation continues as the loaf cools, and cutting into hot bread produces a gummy, compressed crumb. Leave the loaf on a wire rack for at least 45 minutes before slicing; the crust will stay crisp and the crumb will set properly.
Expert insights from Vesuviano Forni on wood fired baking mastery
The artisans behind Vesuviano Forni have spent generations building ovens in the Vesuvian area of Naples, and that depth of experience shapes how they think about baking. The oven is not just a tool; it is a thermal system with its own character, and learning to read it is the real craft.
Pro Tip: Treat your first three or four bakes as observation sessions, not production runs. Measure the floor, dome, and outer dome temperatures at regular intervals and note how quickly each reading drops. That data is worth more than any recipe.
“The more you use your oven, the more you will understand its character. The key is to learn by careful observation how your oven retains heat in the sole and in the dome. Infrared thermometers bridge traditional fire management with precise baking demands.” — Michael Hanson, The Sourdough School
Common beginner mistakes follow a predictable pattern. Bakers load bread too soon after pizza, before the floor has cooled to the right range. They open the door too often, losing the steam that drives oven spring. They use green or damp wood, which produces inconsistent heat and smoke that taints the crust. Each of these is avoidable once you understand the oven’s thermal logic.
The oven dimensions guide from Vesuviano Forni explains how dome height and floor diameter affect heat distribution, which directly influences how evenly bread bakes across a full load. Larger, deeper ovens with greater thermal mass hold the bread temperature for longer and forgive minor fluctuations in fire management. That is why professional ovens built with traditional Neapolitan techniques, using refractory materials and proper insulation, consistently outperform lighter domestic models for bread baking.
Vesuviano Forni’s VesuvioBuono® low-emission system also addresses one of the practical concerns for commercial bakers: clean combustion. By eliminating black soot emissions, the system keeps the baking environment cleaner and reduces the risk of smoke tainting delicate bread crusts, without sacrificing the flavour that only wood fire delivers. For hospitality businesses thinking about common operational mistakes in food service, the quality of the oven itself is often the overlooked variable.
Vesuviano Forni: built for bakers who demand more
A wood fired oven that holds temperature reliably, distributes heat evenly, and retains its thermal mass across a long baking session is not a luxury. It is the foundation of consistent results. Vesuviano Forni’s handcrafted wood fired ovens are built in Naples by artisans with over 50 years of experience, using refractory materials and construction techniques passed down through generations. Whether you are baking sourdough boules, focaccia, or hearth loaves alongside a full pizza service, the oven’s thermal performance is what separates a good bake from a great one.
Speak to the Vesuviano Forni team about which oven suits your kitchen, your volume, and your baking ambitions.
Key takeaways
Baking bread in a wood fired oven requires a floor temperature of 200–250°C, a dome temperature of 250–300°C, a 1–2 hour heat soak, and active steam management to achieve a traditional crust and fully set crumb.
| Point | Details |
|---|---|
| Target temperature for bread | Oven floor at 200–250°C and dome at 250–300°C; far lower than pizza temperatures. |
| Heat soak is non-negotiable | Allow 1–2 hours after firing for heat to redistribute evenly through the oven’s thermal mass. |
| Steam drives crust quality | Trap moisture with a close-fitting door or Dutch oven lid during the first phase of baking. |
| Check doneness accurately | A hollow tap on the base and an internal temperature of around 96°C confirm a full bake. |
| Know your oven’s character | Measure floor, dome, and outer dome temperatures repeatedly across sessions to master the cooling curve. |