How to use a wood fired oven: a practical guide
How to use a wood fired oven: a practical guide
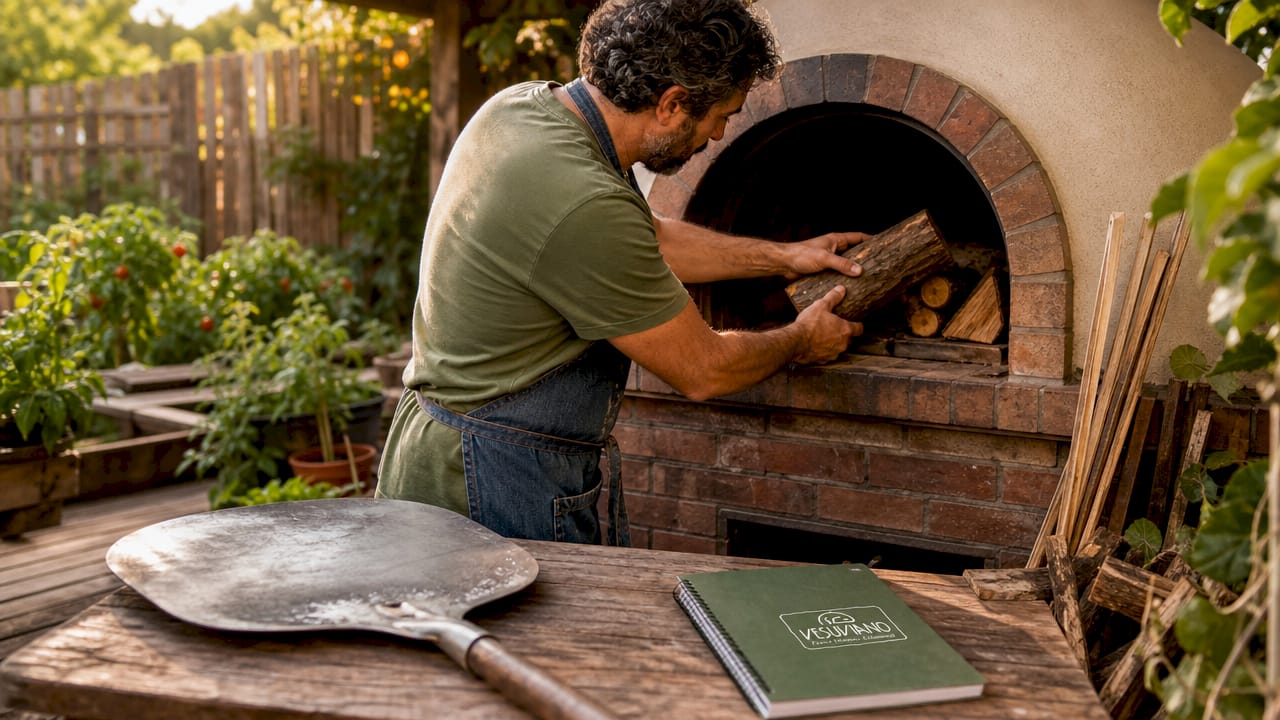
A wood fired oven is defined as a cooking chamber that stores heat in its refractory walls and floor, then radiates that stored energy directly onto food. The fire itself is only the energy source. The cooking happens from the heat the oven walls absorb and release over time. Mastering how to use a wood fired oven means understanding this distinction. Get the preheat right, choose the correct wood, and manage your fire zones well. Do those three things, and you will produce results that no conventional kitchen oven can match.
What do you need before using a wood fired oven?
The right tools make the difference between a frustrating session and a confident one. Before you light your first fire, gather the following.
Essential equipment:
- Infrared thermometer. This is non-negotiable. The dome soot test gives you a rough visual cue, but only an infrared thermometer tells you the actual hearth temperature. Soggy pizza bases are almost always caused by a hearth that is cooler than the dome suggests.
- Heat-resistant gloves. Long-cuffed gloves rated for high temperatures protect your hands and forearms when adding wood or adjusting embers.
- Pizza peel. A long-handled metal or wooden peel lets you launch and retrieve food safely from the back of the oven.
- Oven brush and ash rake. A stiff-bristled brush clears the hearth before cooking. A metal rake repositions embers and manages your fire zone.
- Ash shovel. For removing cooled ash after each session.
Wood selection:
Seasoned hardwood is the only correct choice. Oak, ash, beech, and fruitwoods such as cherry or apple all burn cleanly and produce consistent heat. Wood should be dried for 6–12 months and have a moisture content below 20%. Softwoods like pine produce excessive resin and creosote. Treated or painted wood releases toxic fumes. Neither belongs in a cooking oven.
| Wood type | Burn quality | Best use |
|---|---|---|
| Oak | Long, steady, high heat | Pizza, roasting |
| Beech | Clean, medium-high heat | Pizza, bread |
| Fruitwood (apple, cherry) | Aromatic, medium heat | Roasting, smoking |
| Softwood (pine) | Resinous, uneven | Never use |
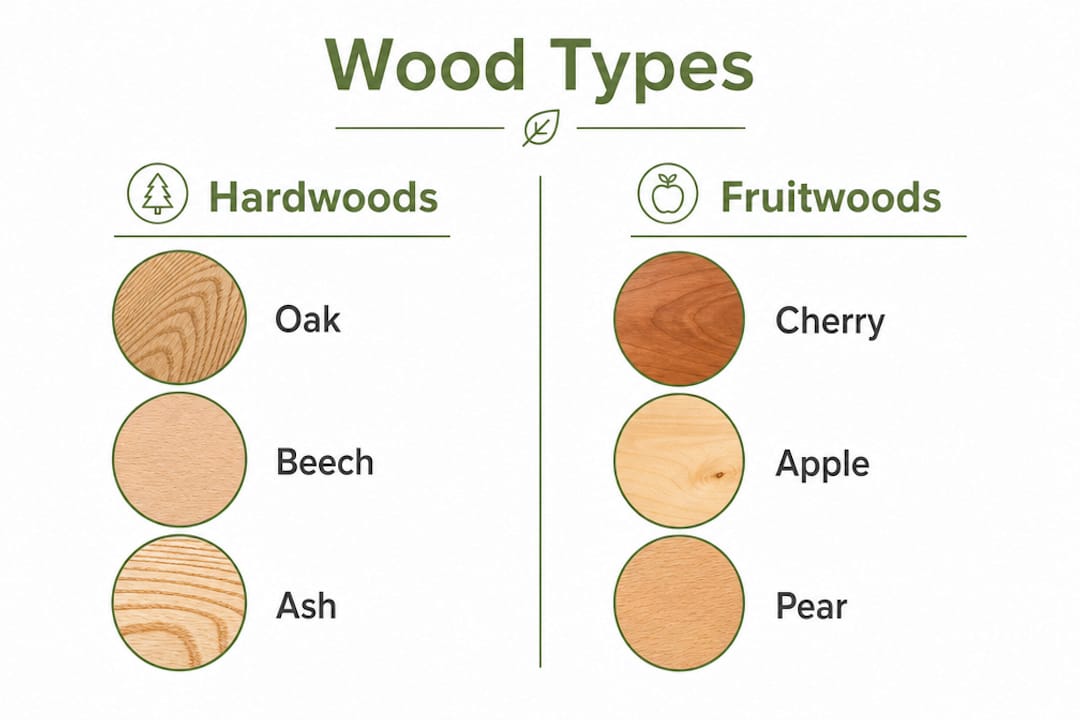
Pro Tip: Buy a cheap moisture metre from any hardware shop. Wood that reads above 20% will smoke heavily, struggle to ignite, and drop your oven temperature significantly.
How to preheat and fire up a wood fired oven
Preheating is the step most home cooks rush, and it is the single biggest reason results disappoint. Preheating a wood fired oven takes 30–90 minutes depending on oven size and the density of its refractory materials. That time is not wasted. It is the process of charging the thermal mass so the walls and floor can radiate heat evenly.
Follow these steps every time:
- Start small. Place a handful of dry kindling in the centre of the hearth. Add a few small splits of hardwood on top in a loose pyramid shape. Light from the base.
- Build gradually. Once the kindling catches, add slightly larger pieces. Small logs ignite faster and build heat more reliably than thick rounds, which take too long to catch and can stall the fire.
- Increase log size slowly. Over 20–30 minutes, move to your main cooking splits. Keep the fire lively but controlled. A roaring, unmanaged fire wastes wood and creates uneven heat.
- Watch the dome. As the oven heats, the dome interior turns black with soot. After 45–60 minutes, that soot begins to burn off from the top downward, eventually turning the dome a clean white or light grey. This is the classic visual cue that the oven is approaching cooking temperature.
- Verify with your thermometer. The dome soot test is a useful guide, but the hearth can still be cooler than the dome. Point your infrared thermometer at the hearth floor. For Neapolitan pizza, you need 750°F–850°F (400°C–455°C) on the hearth and above 900°F (480°C) at the dome.
- Push the fire to one side. Once the oven reaches temperature, rake the embers and active fire to one side. This creates your cooking zone on the opposite side and allows you to manage heat without the flame directly under your food.
Pro Tip: If you see heavy white smoke during lighting, your wood is too wet. Stop, let the oven cool, and source drier fuel before trying again. Wet wood will never bring the oven to temperature properly.
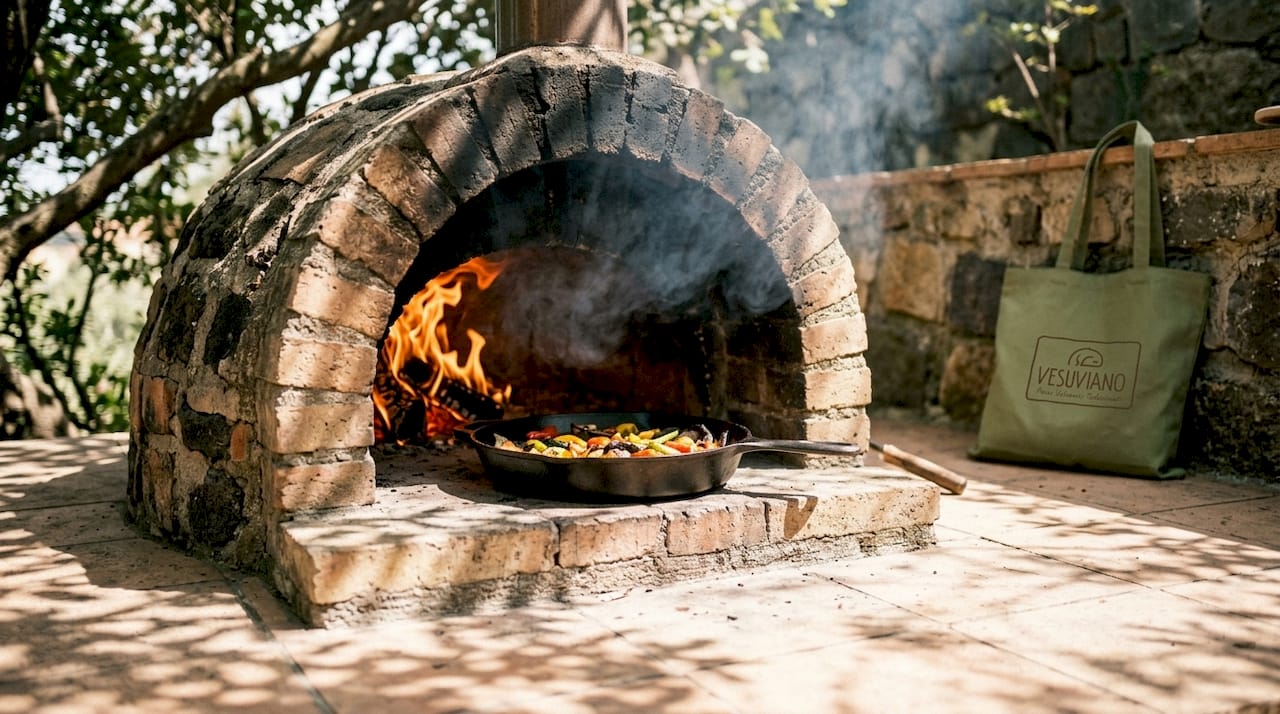
How do cooking zones work inside a wood fired oven?
Fire is only the energy source. The radiation from the refractory walls and floor does the actual cooking. Understanding this changes how you think about the oven entirely. You are not cooking over a flame. You are cooking inside a heat battery.
Pushing embers to one side creates two distinct zones. The area directly beside the fire is the high-heat zone, ideal for pizza and anything that needs intense, fast cooking. The opposite side of the hearth is the medium-heat zone, better suited to roasting vegetables, cooking fish, or finishing a gratin.
Managing your zones effectively:
- Add a small split of hardwood every 15–20 minutes to maintain active flame and steady temperature. A dying fire drops the hearth temperature faster than most cooks expect.
- Avoid large fires once the oven is up to temperature. Large fires after the thermal mass is charged disrupt even heat distribution and create hot spots.
- Use your infrared thermometer to check both zones before placing food. The high-heat zone can read 150°F–200°F hotter than the medium zone.
- Rotate food regularly. Even in the medium zone, one side of a dish will always face more radiant heat than the other.
| Cooking method | Target hearth temp | Zone position |
|---|---|---|
| Neapolitan pizza | 750°F–850°F (400°C–455°C) | High-heat, near fire |
| Roasting meat | 500°F–600°F (260°C–315°C) | Medium zone |
| Bread baking | 400°F–500°F (205°C–260°C) | Medium zone, falling heat |
| Slow cooking | 250°F–350°F (120°C–175°C) | Residual heat, door closed |
Pro Tip: Proper use of cooking zones separates experienced wood oven cooks from beginners. Once you can hold two different temperature zones simultaneously, you can cook a full meal in a single session.
Best recipes and techniques for cooking with wood fired ovens
Pizza
High-hydration pizza dough at 65–70% hydration performs significantly better in a wood fired oven than standard doughs at 58–60%. The extra moisture creates steam during cooking, which protects the dough from the intense radiant heat and produces the classic airy cornicione with leopard spotting. Cold-fermented, hand-stretched doughs deliver the best results.
Before launching your pizza, dust the peel generously with semolina or fine cornmeal. These act like tiny ball bearings under the dough, allowing a clean launch and preventing the base from tearing or sticking. Flour alone burns too quickly at high temperatures and leaves bitter spots.
Once the pizza is in the oven, rotate it every 15–30 seconds. The side facing the fire cooks faster than the opposite side. Total cooking time for a Neapolitan pizza at the correct temperature is 90–120 seconds. If it takes longer, your hearth is not hot enough.
Bread
Bread baking uses the oven’s residual heat after the peak cooking session. Once you have finished cooking pizza, rake out the remaining embers, brush the hearth clean, and allow the temperature to fall to the 400°F–500°F range. Load your loaves directly onto the hearth floor. Close the oven door to trap steam from the dough, which gives you a crisp crust and open crumb.
Roasting and slow cooking
Roasting meats and vegetables works beautifully in the medium zone at 500°F–600°F. Place a cast-iron pan or roasting tray directly on the hearth. As the oven continues to cool through the evening, it becomes ideal for slow cooking. Braises, stews, and beans placed in a covered pot benefit from the gentle, falling heat. The flavour from the wood smoke that permeates the oven walls adds a depth that no gas or electric oven replicates.
Pro Tip: Plan your cooking session in sequence: pizza first at peak heat, then roasting as the oven drops, then bread or slow cooking as it cools further. One fire, three courses.
How to maintain a wood fired oven safely
Safe operation and regular maintenance protect both you and the oven. These are not optional steps.
Safety during use:
- Always operate the oven outdoors or in a space with proper flue ventilation. Carbon monoxide is odourless and builds up quickly in enclosed spaces.
- Partially closing the oven door during firing retains heat but requires adequate ventilation to prevent smoke buildup.
- Wear heat-resistant gloves whenever you handle tools near the fire or reach into the oven.
- Keep children and pets at a safe distance during and after cooking. The oven exterior stays hot for several hours after the fire dies.
Routine maintenance:
- Allow ash to cool completely before removal. Hot ash can reignite and cause burns or fire hazards.
- Brush the hearth clean before each session. Built-up ash insulates the floor and reduces cooking performance.
- Never use water to clean the hearth. Thermal shock from cold water can crack refractory materials. Never use chemical cleaners inside the oven.
- Inspect the dome and floor for cracks periodically. Small hairline cracks are normal as the oven expands and contracts. Large or growing cracks need professional attention.
“The most common mistake I see is using wet wood and skipping a proper preheat. Both problems are avoidable. Dry your wood for at least six months, invest in a moisture metre, and give the oven the time it needs to reach temperature. Patience at the start of a session pays back every time you open the door.”
Pro Tip: Cover your oven with a weatherproof cover when not in use. Rain entering a cold oven does not cause immediate damage, but repeated wet-dry cycles accelerate wear on the refractory materials over time.
Key takeaways
Mastering a wood fired oven requires seasoned hardwood, a full preheat of 30–90 minutes, and deliberate use of heat zones to control cooking across different temperatures.
| Point | Details |
|---|---|
| Use seasoned hardwood only | Oak, beech, or fruitwood dried for 6–12 months with moisture below 20%. |
| Preheat fully before cooking | Allow 30–90 minutes and verify hearth temperature with an infrared thermometer. |
| Manage two cooking zones | Push embers to one side to create high-heat and medium-heat areas simultaneously. |
| Match dough hydration to the oven | Use 65–70% hydration dough for pizza; it handles intense radiant heat far better. |
| Maintain the oven after every session | Remove cooled ash, brush the hearth, and never use water or chemicals to clean it. |
What I have learned from years of working with wood fired ovens
By Bruno, Key Account & Export Manager
Most guides focus on the fire. I think that is the wrong place to start. The fire is just the means. The oven is the instrument. Once you understand that the walls and floor are doing the cooking, not the flame, your whole approach changes. You stop chasing a big fire and start chasing a well-charged oven.
The single most underrated skill in wood oven cooking is patience during preheat. I have watched experienced home cooks launch a pizza into an oven that has only been burning for 20 minutes. The result is always the same: pale, doughy base, overcooked toppings, and a frustrated cook. The oven needs time to absorb heat into its mass. There is no shortcut.
Temperature monitoring changed everything for me. Before I started using an infrared thermometer consistently, I was guessing. The dome soot test is useful as a rough guide, but the hearth can be 150°F cooler than the dome and still look ready. That gap is the difference between a perfect Neapolitan base and a soggy one. Check the Neapolitan pizza oven temperature guide from Vesuviano Forni if you want the precise numbers for each style.
My honest advice: treat every session as a learning opportunity. Keep a simple log of your wood type, preheat time, hearth temperature, and cooking results. After ten sessions, patterns emerge. You will know exactly how long your specific oven needs, which wood burns best in your climate, and how to read the fire without guessing. That knowledge is worth more than any single recipe.
— Bruno, Key Account & Export Manager
Authentic Neapolitan ovens built for serious cooking
Vesuviano Forni brings together artisans from the Vesuvian area with over 50 years of craftsmanship in professional oven construction. Every oven is handbuilt in Naples using traditional Neapolitan techniques, with refractory materials selected for thermal performance and longevity.
Whether you are setting up a home kitchen or equipping a professional pizzeria, the Vesuviano Forni range covers every need. The RealBosco and Sebastian models deliver authentic wood-fired performance in both classic mosaic and contemporary finishes. For high-volume environments, the commercial rotating ovens offer consistent results with less manual intervention. Every oven comes with full technical support, installation assistance, and after-sales service wherever you are in the world.
FAQ
How long does it take to preheat a wood fired oven?
A wood fired oven requires 30–90 minutes of preheating depending on its size and refractory mass. Always verify the hearth temperature with an infrared thermometer before cooking.
What wood is best for a wood fired oven?
Seasoned hardwoods such as oak, beech, ash, and fruitwoods are the best choice. The wood must have a moisture content below 20% and be dried for at least 6–12 months.
What temperature does a wood fired oven need for Neapolitan pizza?
The hearth should reach 750°F–850°F (400°C–455°C) and the dome above 900°F (480°C) for authentic Neapolitan pizza. At this temperature, a pizza cooks in 90–120 seconds.
How do I prevent pizza from sticking to the peel?
Dust the peel with semolina or fine cornmeal rather than flour. These create a sliding surface under the dough and do not burn as quickly at high oven temperatures.
How do I clean and maintain a wood fired oven?
Allow ash to cool fully, then remove it with a metal shovel and brush the hearth clean. Never use water or chemical cleaners inside the oven, as both damage refractory materials.