Pizza oven chimney height: getting it right for commercial kitchens
Pizza oven chimney height: getting it right for commercial kitchens
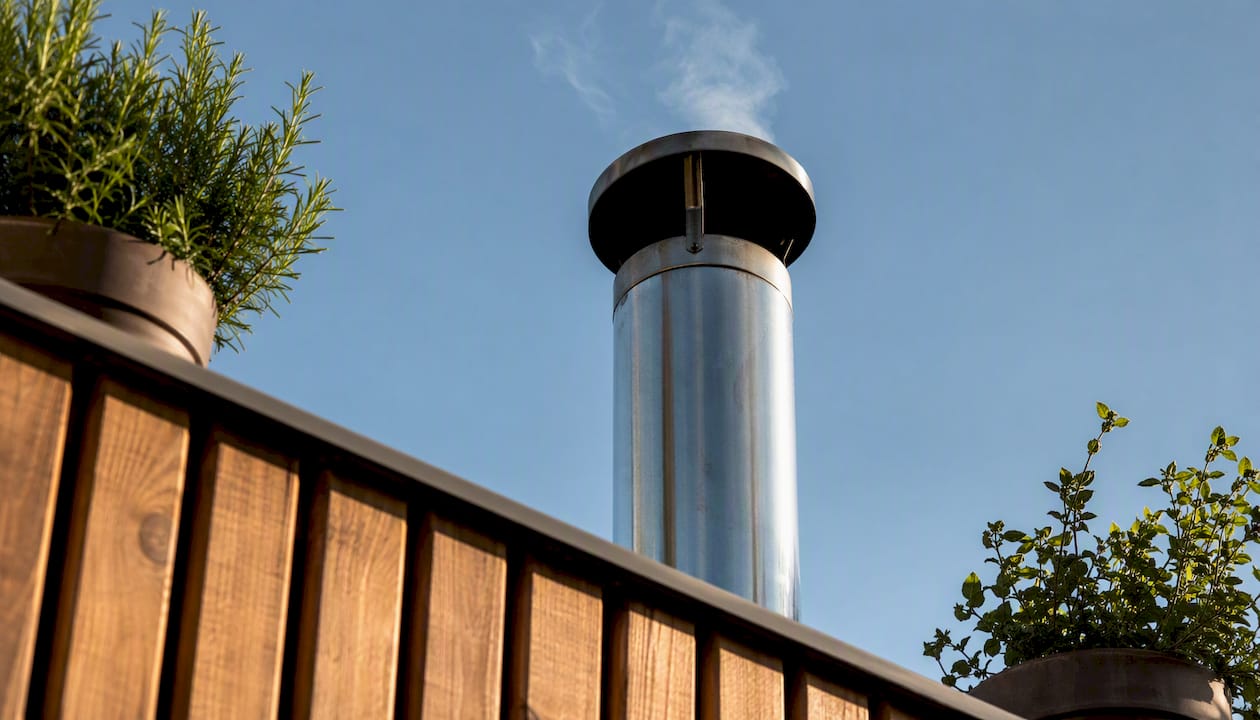
For a freestanding commercial pizza oven outdoors, install the chimney at least 3 ft above the oven opening. If the oven sits under a roof or pergola, extend it 2 to 3 ft above the highest point of that structure. Before you sign off on any installation, confirm two things: the chimney pipe matches the oven’s outlet diameter, and the roof clearance satisfies the NFPA 3-2-10 rule. Wind, elevation and damp firewood can all push those minimums higher.
TL;DR:
- Matching the chimney diameter to the oven outlet is critical; using a pipe smaller than the outlet restricts airflow regardless of height.
- Extra height beyond minimum is necessary only if external factors like nearby obstructions, wind, or site elevation disrupt draft.
- Proper installation requires adherence to NFPA 3-2-10 rules, including extension height above roof penetrations and surrounding structures.
- Regular inspections for soot buildup and water ingress, along with a wind test before finalizing, help diagnose and prevent smoke issues.
- Site-specific planning by an engineer or manufacturer is essential to ensure optimal draft performance and long-term system safety.
Table of Contents
- What are the quick rules for pizza oven chimney height?
- What factors change the optimal chimney height?
- How do you calculate the correct installed chimney height?
- Installation clearances, flashing and bracing you can’t skip
- Diagnosing smoke problems before calling a specialist
- Why chimney height needs an engineer’s eye, not a rule of thumb
- Get your chimney specification right before you install
- Sources
What are the quick rules for pizza oven chimney height?
Most draft problems we see traced back to installation trace to one of five oversights, all of them fixable before the first fire is lit.
- Freestanding minimum: at least 3 ft above the oven mouth. Under cover, add 2 to 3 ft above the highest point of that cover, since a pergola or patio roof traps smoke and disrupts the natural pull upward.
- Roof penetration: follow the 3-2-10 rule referenced in NFPA 211 guidance: 3 ft above the highest point where the chimney passes through the roof, and 2 ft higher than any part of the building within 10 ft.
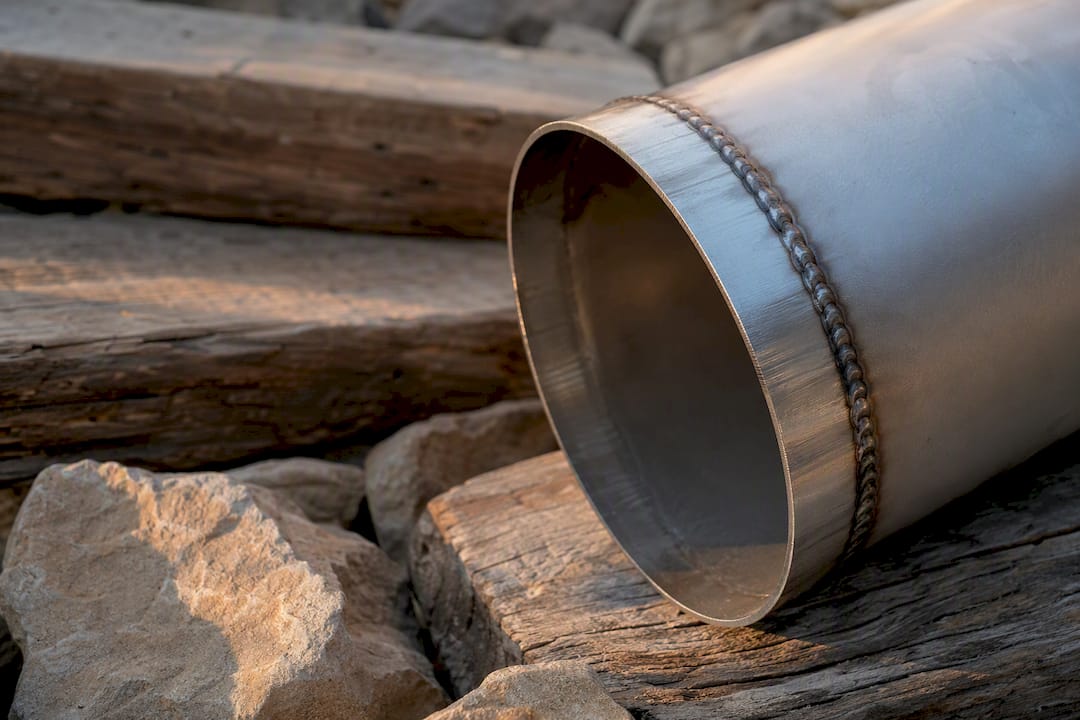
- Diameter match: the pipe must equal or exceed the oven’s outlet size. Commercial outlets typically run 5 to 8 inches, and necking down anywhere in the run chokes draft regardless of how tall the stack is.
- Insulation: use Class A insulated pipe for any run longer than a couple of feet, or wherever the chimney sits close to combustible materials.
- Bracing: once the exposed stack rises more than roughly 4 ft above the oven or roofline, secure it with brackets or guy wires per the manufacturer’s chimney pipe guidance.
Treat these as the floor, not the finished design. A busy pizzeria kitchen with a covered patio, a windy corner lot, and a neighbouring rooftop unit will usually need more than the bare minimum.
What factors change the optimal chimney height?
Height is the number everyone fixates on, but it is only one variable in a system. Get the others wrong and extra height buys you nothing.
Diameter comes first. A chimney that is narrower than the oven chamber restricts airflow no matter how tall you build it, and university extension research on flue sizing confirms that mismatched diameter is one of the most common causes of poor draft in wood-fired appliances. Start by matching the outlet, then consider going one size larger if the oven chamber is unusually large or shares ductwork with another appliance.
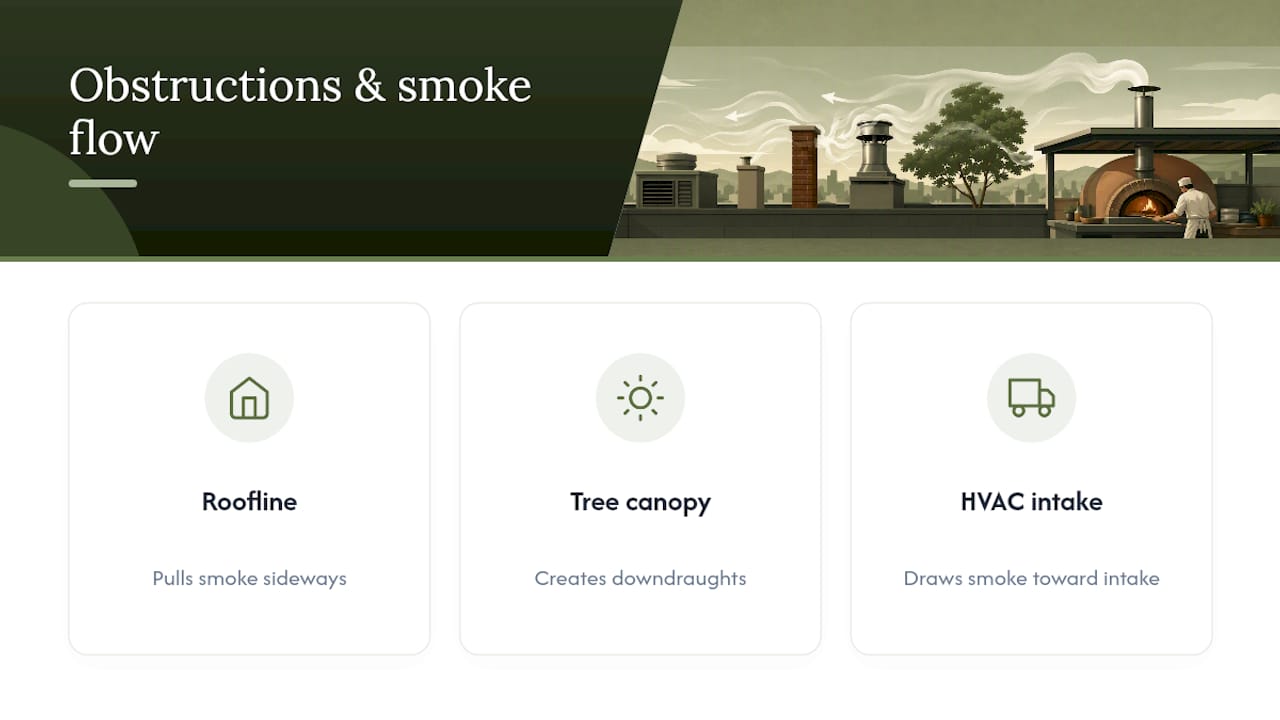
Overhead structures change the calculation entirely. Roofs, pergolas and dining canopies create downdraughts that push smoke back toward the cooking area, which is why covered installations need that extra 2 to 3 ft above the highest point of the cover, not the oven itself.
Nearby obstructions matter almost as much as the cover overhead. A taller adjacent roofline, a dense tree canopy, or an HVAC intake close to the terminal can all create turbulence that pulls smoke sideways instead of letting it rise cleanly. Position the chimney outlet above that disturbed air layer wherever the site allows it.
Wind direction, site elevation and fuel quality round out the list. Prevailing wind can flatten draft performance even on a correctly sized stack, and sites at sea level often need a taller chimney than a high-altitude location to achieve the same pull, since thinner air at altitude behaves differently in a flue. Damp firewood is the easiest factor to control and the most commonly ignored: keep moisture content under 20%, because wet fuel smoulders instead of burning clean and undermines draft regardless of chimney height.
Pro Tip: Before you commission a permanent installation, run the oven at full fire on a windy day and watch how smoke behaves near the terminal. It’s the cheapest diagnostic test available, and it often reveals a turbulence problem no amount of extra height will fix.
How do you calculate the correct installed chimney height?
Sizing a chimney is arithmetic more than guesswork, provided you work through it in order.
- Measure the oven outlet diameter first. Select pipe that matches it exactly, or one size larger if the chamber is oversized. Never reduce diameter anywhere downstream, even by a fraction of an inch.
- Account for joint overlap on multi-section runs. Commercial chimney sections typically overlap by 1 to 1.25 inches per joint, so multiply that figure by the number of joints and subtract it from the nominal section length to get your true installed height.
- Apply the correct minimum for your setup. Freestanding: 3 ft above the oven mouth. Under cover: 2 to 3 ft above the highest point of the covering structure. Through a roof: the 3-2-10 rule.
- Choose Class A insulated pipe for runs over roughly 2 ft, or anywhere clearance to combustibles is tight. It drafts more consistently on longer runs and permits closer clearances than uninsulated single-wall pipe.
- Test before you finalise. If the minimums are met but smoke still lingers, an anemometer reading can confirm whether draft is genuinely weak. A powered cap fan is a legitimate fix, but treat it as a last resort after a professional evaluation, not a substitute for correct sizing.
Getting the oven chamber dimensions right from the outset makes every one of these calculations easier, since outlet size and chimney diameter should be specified together, not retrofitted separately.
Installation clearances, flashing and bracing you can’t skip
Height and diameter get most of the attention, but the details around the penetration point decide whether the installation lasts or leaks within a season.
- Apply NFPA guidance in full: the chimney must extend at least 3 ft above the roof penetration and at least 2 ft higher than any part of the building within 10 ft, exactly as the 3-2-10 rule specifies.
- Get the flashing and chimney chase right. Poor flashing lets water track down the pipe and into the roof deck, and thermal stress from a hot flue can crack surrounding finishes if the chase isn’t built to spec.
- Brace anything that extends well above the roofline. Wall brackets, extended roof brackets or guy wires prevent swaying in wind, and you should follow the pipe manufacturer’s spacing instructions rather than eyeballing it.
- Inspect annually. Soot build-up narrows the effective cross-section over time, and water ingress at a poor seal can go unnoticed until it damages the ceiling below.
- Where clearance to combustibles is tight, Class A insulated pipe or a purpose-built non-combustible chase is the safer route over trying to squeeze single-wall pipe into a restricted space.
Diagnosing smoke problems before calling a specialist
Smoke rolling out of the oven mouth almost always points to insufficient height or a blocked terminal. Slow startup on a cold morning is usually the flue itself being cold, compounded by damp fuel. A sooty taste in the food is the clearest sign of incomplete combustion, often from restricted draft rather than the height being wrong.
Start with the easy fixes: dry your firewood properly, check the cap and outlet for obstructions, and confirm nothing in the run has been necked down. If the diameter and height both check out on paper and the problem persists, look at external turbulence from nearby structures, or ask an installer about an airflow test before considering a cap fan.
- Persistent backdraft despite correct sizing means something structural or environmental is overriding the design.
- Smoke reaching the dining area is a health and comfort issue that needs same-day attention, not a wait-and-see approach.
- Any doubt about code conformance on an existing installation is worth a professional review before your next health inspection.
Pro Tip: If a chimney performed well for years and suddenly started smoking, look at what changed nearby first. A new extension next door, a felled tree, or a rooftop unit installed on a neighbouring building can all disrupt airflow that used to work fine.
Why chimney height needs an engineer’s eye, not a rule of thumb
Bruno, Key Account & Export Manager at Vesuviano Forni, has spent years coordinating international oven installations, and the pattern he sees most often is operators treating chimney height as a single number rather than a system. A stack built to the letter of the 3-2-10 rule can still smoke out a dining terrace if nobody accounted for a neighbouring rooftop or a covered patio roof.
Vesuviano Forni was founded in 2025, though the craftsmanship behind it runs back generations through Neapolitan artisans building the RealBosco, Sebastian and VesuvioBuono oven lines. On commercial projects, chimney planning happens alongside oven selection, not after it, which is why a site survey before installation catches problems that a generic height chart never will.
— Bruno - Key Account & Export Manager
Get your chimney specification right before you install
Guesswork on chimney height costs more to fix after installation than it does to plan properly beforehand, and that’s exactly where a manufacturer who also handles installation earns its keep. Vesuviano Forni offers a technical site survey alongside every commercial oven order, matching chimney diameter, height and bracing to your specific building, roofline and covered seating before a single pipe goes up.
For restaurants concerned about smoke and soot near outdoor dining, the VesuvioBuono low-emission system pairs a traditional wood-fired flavour with a cleaner combustion design, reducing the visible soot that often triggers neighbour and health-inspector complaints in the first place. Whether you’re specifying a new build or correcting a chimney that’s never drafted properly, browse the commercial wood-fired pizza oven range and request a technical survey to get height, diameter and bracing confirmed for your exact site before installation day arrives.
Sources
- Flue-pipes — What chimney pipe do you need for a pizza oven? (US)
- Proper venting (notes referencing NFPA 211 and 3‑2‑10 rule)
- University extension notes on chimney draft and flue sizing
- Forno Nardona — Pizza oven chimney design that performs beautifully