Where to place a commercial pizza oven for compliant operation
Where to place a commercial pizza oven for compliant operation
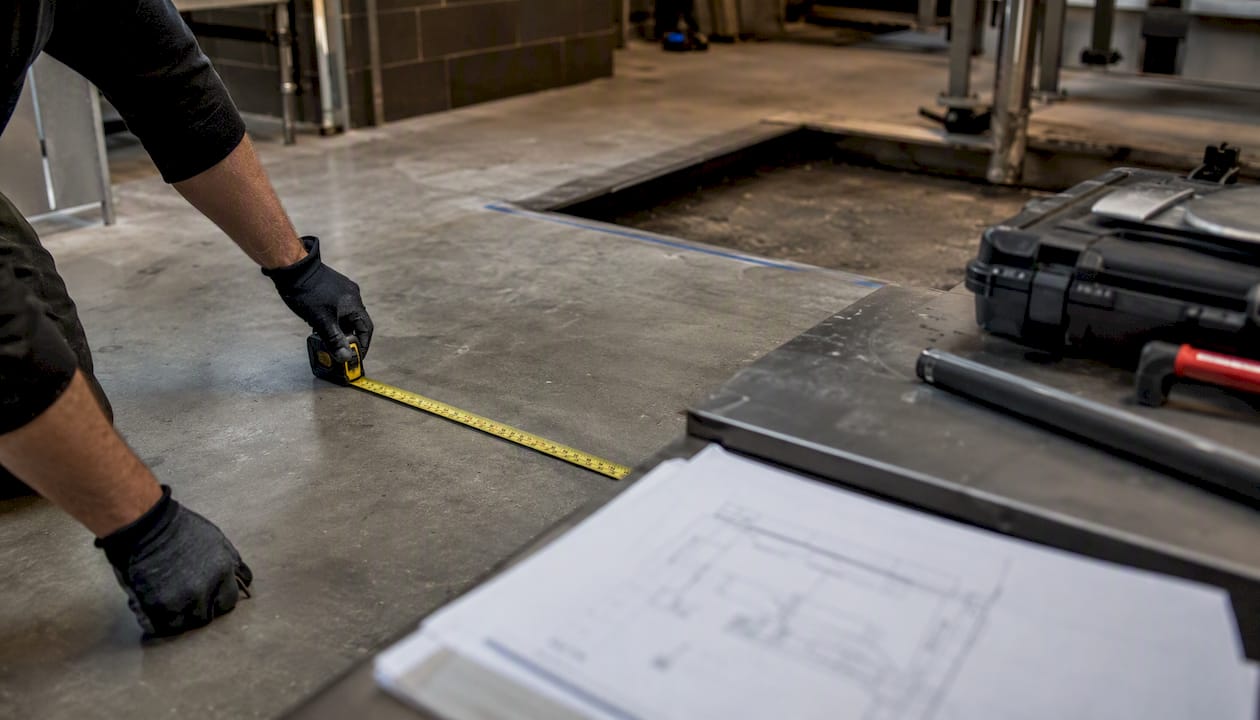
Place your pizza oven where three conditions can genuinely be met at once: adequate make-up air, a Type I hood sized correctly for the oven’s load, and structural support strong enough to carry a concentrated, static weight for decades. Get those three right and everything else, permits, workflow, service access, tends to fall into place. Get any one wrong and you will be redesigning the kitchen after the concrete has already been poured.
Before you sketch a layout or call a contractor, run through this:
- Ventilation: a Type I hood sized to the oven’s rated BTU input, with make-up air that replaces what the hood exhausts.
- Structural support: a slab or foundation engineered for the oven’s static weight, not just a flat floor.
- Service clearances: enough space at the sides, rear and top to clean, inspect and repair the unit without shutting the kitchen.
Pro Tip: Don’t finalise a floor plan before you’ve spoken to your local Authority Having Jurisdiction (AHJ). A five-minute pre-application call can save weeks of redrawing later.
Your next move is a proper site survey, ideally paired with early contact to your AHJ and fire marshal, because both will shape what’s even possible in the space you have. The primary technical reference for that survey is NFPA 96, the standard that governs hood size, grease removal devices, duct clearances and exhaust systems for commercial cooking equipment. Almost every requirement discussed in this article traces back to it in some form.
Key Takeaways
Compliant pizza oven placement depends on adequate make-up air, a correctly sized Type I hood, engineered structural support and clear service clearances, confirmed through an early AHJ conversation.
| Point | Details |
|---|---|
| Ventilation comes first | Size the Type I hood and make-up air to the oven’s rated BTU input before finalising the layout. |
| Structure carries the plan | Request a structural engineer’s bearing-pressure calculations before committing to a floor location. |
| Clearances protect operations | Leave rear, top and side access for cleaning, suppression inspection and future repairs. |
| Engage the AHJ early | A pre-application conversation with your fire marshal avoids costly redesigns later. |
| Vesuviano Forni supports the process | Site surveys, engineered drawings and certified installation come standard with every commercial oven order. |
Table of Contents
- Pizza oven placement checklist for a site visit
- Where should the oven sit in the kitchen workflow?
- What floor and foundation does a pizza oven need?
- How should ventilation and exhaust be sized and placed?
- Where do gas, electrical and combustion-air connections belong?
- Fire suppression and clearance to combustibles
- What’s the realistic timeline and cost for permits and build-out?
- Planning access and clearances for cleaning and repairs
- How Vesuviano Forni supports placement and installation
- What field installations teach you about placement decisions
- Get vendor support for your placement and installation plan
- Sources
Pizza oven placement checklist for a site visit
A single walk-through, done properly, tells you whether a space is even worth pursuing. Bring a tape measure, a torch, and a notepad, and work through this in order:
- Hood clearances. Confirm there’s room for a canopy that overhangs the oven footprint on all sides, plus vertical clearance up to the duct connection.
- Combustion-air openings. Check whether the room can accommodate top and bottom free-area openings sized to the oven’s rated input.
- Floor loading. Identify the slab type and thickness beneath the proposed spot; a suspended timber floor or thin slab-on-grade rarely copes with a masonry oven without reinforcement.
- Chimney or exhaust route. Trace a plausible path from the oven to a roof penetration or termination point that clears neighbouring occupancies.
- Adjacency to prep and refrigeration. Note the walking distance from the pass to the walk-in and the dough station.
- Grease interceptor proximity. Locate the nearest interceptor and assess whether new drainage runs are needed.
A few dimensions are worth pinning down before you leave: canopy hoods commonly extend 4 to 6 inches beyond the oven footprint on every side, and grease removal devices typically sit 18 to 30 inches above the cooking surface. Record the ceiling height, whether the landlord permits roof penetrations, and whether any existing ductwork could be reused. These three details alone will tell an engineer or installer most of what they need for an initial feasibility read.
Where should the oven sit in the kitchen workflow?
The best pizza oven location supports the shortest, cleanest path from dough to plate, not the most photogenic angle for guests. Position the oven near the final assembly and pass area so pizzas travel a short, straight line from peel to expo. Keep meaningful distance from dishwashing stations and grease traps: humidity and grease aerosols are the enemy of a consistent bake, and cross-contamination risk climbs when a hot oven sits beside a wet station.
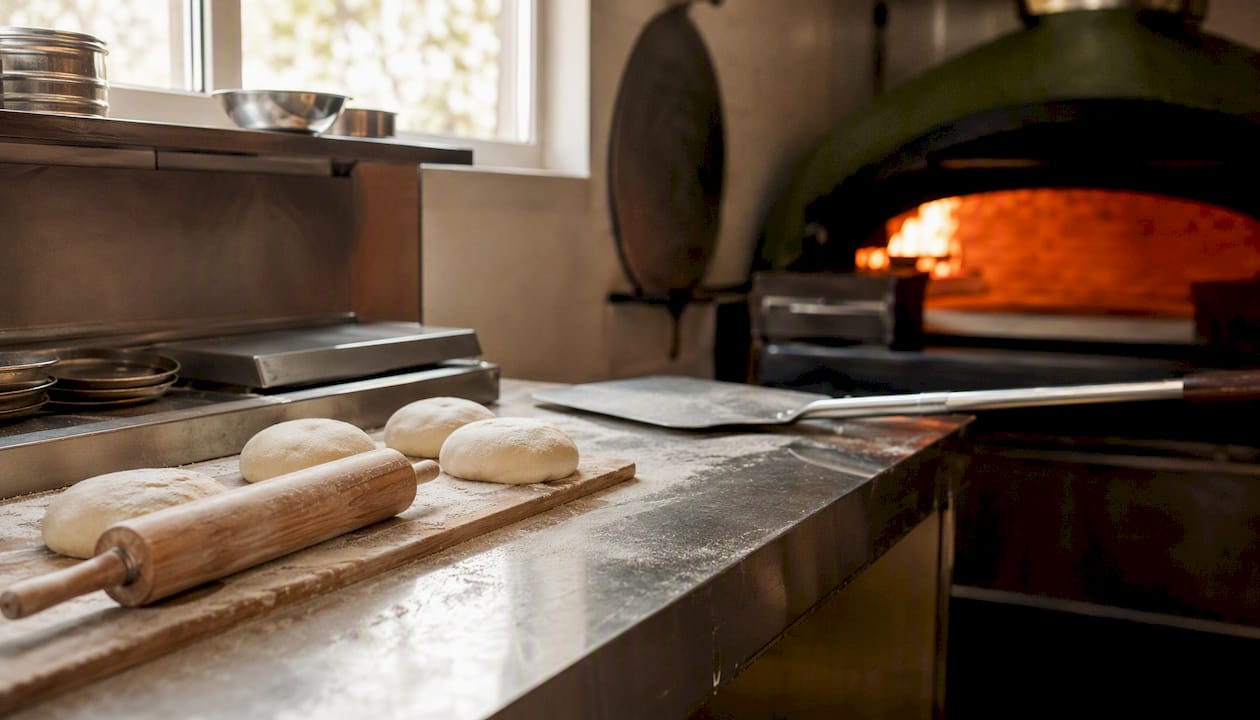
Front-of-house display ovens look wonderful in a dining room, but they impose real constraints. A visible oven usually means shorter cable and gas runs are impossible, service staff cross paths with guests more often, and heat radiates into a space meant to stay comfortable. Weigh that against a back-of-house position, which sacrifices spectacle for shorter runs and tighter control over noise and heat.
Sketch the actual staff journey: dough retrieval, shaping, topping, oven load, oven unload, pass. Walk it physically if you can, stopwatch in hand. If two steps in that sequence require a full turn or a walk of more than a few paces, the layout is fighting your team before service even starts. Wood-fired installations complicate this further, since the operational envelope of a wood oven extends well past the visible dome to include insulation thickness, fuel storage and ash handling.
Pro Tip: Not everything needs to be adjacent, some things just need to be nearby. The dough station must be immediate; the walk-in can be twenty feet away if the route is unobstructed.
What floor and foundation does a pizza oven need?
A traditional masonry pizza oven is not just heavy, it’s heavy in one place. Where a domestic appliance spreads its weight across a wide footprint, a Neapolitan-style dome concentrates several hundred kilograms into a compact circular base, and that concentrated load is exactly what most standard slabs were never designed to carry.
- Confirm slab thickness and reinforcement before committing to a location; a 4-inch slab-on-grade with no additional reinforcement is often inadequate.
- Request bearing-pressure and load-distribution calculations from a structural engineer whenever the oven sits on an upper floor, mezzanine or any structure not poured specifically for that purpose.
- Treat rooftop or upper-floor installations as a distinct project: roof penetration rights, live load allowances and access for future servicing all need sign-off before design work continues.
- Share the manufacturer’s engineered drawings with your structural engineer early. Guessing at oven weight from a brochure photo is how projects end up re-pouring a slab mid-build.
Pro Tip: Ask your oven manufacturer for the exact static load figure and footprint dimensions before your engineer starts calculations. A number pulled from a generic spec sheet for a different model can send the whole structural assessment sideways.
Wood-fired ovens compound the structural question because they demand more than their visible shell: insulation layers, a chimney riser and often a raised hearth all add weight and height that a floor plan drawn from a simple footprint will miss. If you’re weighing a wood-fired build, the dimensional guidance for wood-fired ovens is worth reading before you finalise the foundation design.
How should ventilation and exhaust be sized and placed?
Ventilation is where most pizza oven placement decisions succeed or fail, and NFPA 96 is the standard every AHJ will measure your design against. It sets preventive and operative fire-safety requirements covering hood design, grease removal devices, exhaust ductwork and clearances to combustibles, and its chapter structure moves logically from general requirements through hood sizing to solid-fuel and downdraft-specific provisions.
A few practical rules of thumb consistently hold up on site:
| Element | Typical guidance |
|---|---|
| Canopy overhang | 4–6 inches beyond the oven footprint on all sides |
| Grease removal device height | 18–30 inches above the cooking surface |
| Hood type preference | Low-velocity canopy hoods, rather than high-velocity systems |
| Combustion-air openings | Sized to the oven’s rated BTU input, top and bottom |
High-velocity hoods are tempting because they look more powerful on a spec sheet, but they can strip heat straight out of an open cooking chamber. Manufacturer and installation manuals commonly recommend low-velocity systems for exactly this reason: a hood that extracts too aggressively will fight the oven for its own top heat, and the result is an uneven bake that no amount of dough technique can fix.
Ventilation efficiency and oven thermal performance are in constant tension. Extract too hard and you pull heat out of the baking chamber; extract too little and grease-laden air lingers where it shouldn’t. The right hood balances capture velocity against the oven’s own thermal needs.
Exhaust fan sizing depends on static pressure, duct run length and required CFM, all of which increase with distance and bends in the ductwork. Chimney or exhaust termination points need equal care: roof penetrations must clear neighbouring occupancies and respect draft requirements, particularly for wood or solid-fuel ovens where poor draft translates directly into smoke spillage inside the kitchen. Manufacturer manuals for enclosed ovens often provide worked formulas for sizing combustion-air openings against rated input, which is worth requesting before your mechanical contractor prices the job.
Where do gas, electrical and combustion-air connections belong?
Utility routing decides more about your final layout than most owners expect, largely because upgrading a gas meter or electrical panel can take longer than the entire fit-out. Plan this early:
- Gas. Confirm whether the existing meter can support the oven’s demand or whether the utility company needs to upsize service; lead times for that work can stretch into months in some jurisdictions.
- Electrical. Verify panel capacity for blowers, controls and, for rotating ovens, any secondary motor circuits that draw independently of the main heating element.
- Combustion air. Size top and bottom free-area openings relative to the oven’s rated BTU input, following the manufacturer’s formula rather than a generic rule of thumb.
- Water. Confirm a nearby supply point if the oven or adjacent equipment requires one for cleaning or steam injection.
- Mark utility locations on the same drawing as the hood and structural plan, not on a separate sheet, so contractors aren’t coordinating blind.
- Flag any electric oven options early if gas infrastructure is the limiting factor; electric models sidestep gas lead times entirely but shift the burden onto electrical capacity instead.
Fire suppression and clearance to combustibles
Suppression and clearance rules sit at the centre of every AHJ conversation, because they’re the part of the design regulators care most about. A Type I hood almost always needs an integrated suppression system, and NFPA 96 sets out the duct and hood protection requirements that govern how that system is designed and inspected.
- Confirm the hood assembly is UL-listed and check the manufacturer’s clearance-to-combustibles figures, since these often set tighter limits than the generic code minimum.
- Loop in the fire marshal and AHJ before finalising layout, not after; both typically require documentation of the suppression design and may want a representative present during key installation milestones.
- Plan emergency access around the oven, keeping exits clear and extinguishers within reach of the cooking line.
- For solid-fuel ovens, include carbon monoxide monitoring as standard, not an afterthought.
Pro Tip: Photograph every stage of the suppression installation. When an inspector asks for proof of clearance distances six months later, a dated photo saves a costly re-inspection.
What’s the realistic timeline and cost for permits and build-out?
Expect to allow 10 to 20 weeks from site survey to final inspection when the space lacks existing hood and utility infrastructure, longer where utility upsizing is involved. The single biggest driver of both cost and delay is usually the Type I hood and its associated make-up air system, alongside grease interceptors, slab reinforcement and utility upgrades, all of which tend to be far cheaper when inherited from a previous tenant than built from scratch.
If you’re negotiating a lease, push for these terms in the letter of intent:
- Confirmation of what mechanical infrastructure the landlord will let you inherit versus what you must install yourself.
- Explicit roof-penetration rights, in writing, before signing.
- A capped restoration clause, so you know your exposure if the lease ends early.
The realistic sequence runs: site survey, engineered drawings, AHJ approval, installation, final inspection. Sites that already have a hood and adequate gas service can compress that window considerably. Choosing a space with existing infrastructure, even a compromise “B” location by other measures, is often the pragmatic call that keeps the project on schedule.
Planning access and clearances for cleaning and repairs
An oven that’s difficult to service becomes an oven that gets serviced late, and deferred maintenance on cooking equipment is exactly where fire risk creeps in. Build these clearances into the plan from day one, not as an afterthought once the layout is finished:
- Maintain clear access at the oven mouth for daily operation and at the rear for burner and control servicing.
- Leave top access for duct and flue inspection, since suppression system checks require a technician to reach that area without dismantling the hood.
- Set a realistic cleaning schedule for grease removal devices; how often depends on volume, but the access itself needs to exist regardless of frequency.
- For solid-fuel ovens, design a dedicated ash removal route and wood storage area that doesn’t cross guest-facing space.
Pro Tip: Include your maintenance clearances on the handover drawings you give the landlord and your insurer. It’s the fastest way to prove the installation still meets its original design intent years later.
How Vesuviano Forni supports placement and installation
Vesuviano Forni’s involvement typically starts well before an oven ships. A manufacturer site survey and engineered drawings come first, giving your structural engineer and mechanical contractor the exact figures they need rather than estimates pulled from a catalogue. From there, the process moves through international logistics, on-site assembly by manufacturer-trained installers, testing, and formal handover.
To get that process moving efficiently, we typically ask for:
- Existing floor plans and any MEP drawings already prepared.
- Contact details for your AHJ and fire marshal, where available.
- Any lease clauses affecting roof penetration rights or restoration obligations.
Working through this sequence keeps surprises to a minimum:
- Initial consultation to understand your space, volume and oven type.
- Site survey and engineered drawings tailored to your building.
- Manufacturing and logistics coordination, including customs where applicable.
- On-site assembly and installation by certified technicians.
- Testing, handover and after-sales support under manufacturer warranty.
Every oven comes with manufacturer warranty coverage and after-sales support, and because installation is handled by certified specialists rather than a general contractor guessing at oven-specific tolerances, the finished result matches the engineered drawings your AHJ has already approved. Explore the Neapolitan oven range or the rotating oven line to see which product family fits your build.
What field installations teach you about placement decisions
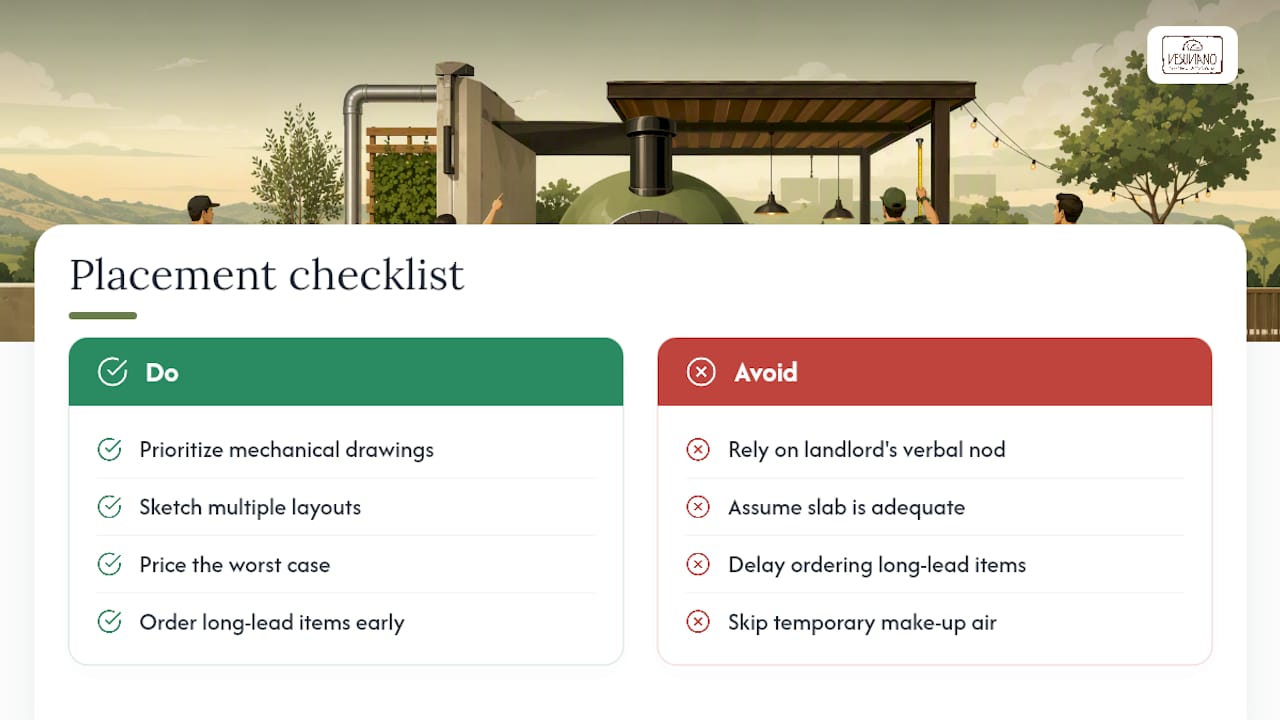
The costliest mistakes on a placement decision rarely come from ignorance of the rules. They come from underestimating how much room ventilation actually needs, or assuming a landlord’s verbal nod covers a roof penetration that never gets written into the lease. Owners who’ve been through this once tend to treat the mechanical drawing as more important than the floor plan, because the mechanical drawing is what an AHJ actually inspects.
Slab reinforcement is the other quiet failure point. It’s tempting to treat the foundation as a given, particularly in a space that’s already been a kitchen before, but a previous tenant’s fryer line was never engineered for a concentrated masonry load. Scenario planning helps here: sketch two or three layouts before committing, and price the worst case, not just the best one, so a failed slab test doesn’t derail the whole timeline.
On staging, the operators who move fastest are the ones who order long-lead items, hoods, custom ductwork, structural steel, the moment engineered drawings are approved, rather than waiting for a general contractor to request them. Prefabricated duct risers and temporary make-up air arrangements have saved more than one project several weeks of dead time waiting for a rooftop crane slot. Coordinate your inspection windows early too; an AHJ visit booked around your installer’s on-site assembly date, rather than after it, avoids the awkward gap where an oven sits finished but uninspected for weeks.
Get vendor support for your placement and installation plan
If you’ve read this far, you already know that pizza oven placement is a mechanical and structural decision as much as a design one, and getting it wrong costs far more than getting it right the first time. Vesuviano Forni’s advantage over a generic contractor-led build is straightforward: every oven ships with manufacturer engineered drawings and a site survey built specifically for that unit, so your engineer and AHJ are working from real figures rather than estimates.
That precision carries through to installation itself, handled by manufacturer-certified technicians rather than a crew learning oven-specific tolerances on the job, backed by a manufacturer warranty and after-sales support once the oven is running. Whether you’re weighing a traditional wood-fired build, a low-emission VesuvioBuono system, or an electric Neapolitan oven, the product range covers most placement scenarios discussed above. For outdoor terrace installations, coordinating enclosure and guest-flow barriers with a specialist such as Advantage Fencing can resolve the circulation and clearance questions a purely indoor plan never has to answer.
Get in touch through the Vesuviano Forni contact page to arrange a site survey and start the engineered drawings process for your project.
Sources
- Standard for Ventilation Control and Fire Protection of Commercial Cooking Operations
- SERIES: FC & IL FORNO CLASSICO (installation manual excerpt)
- How Do I Budget a Pizza Shop Buildout?
- Wood fired pizza ovens need more space than most plans allow
- How to select the right location and plan the buildout for your new pizzeria
NFPA publications above are normative standards; treat the remaining sources as practical guidance. Local AHJs adopt NFPA provisions with their own amendments, so always confirm current requirements with your specific jurisdiction before finalising design.