
Useful Information
Everything you need to know to install and use your Vesuviano oven
Unloading, lifting and positioning of the oven
- The oven has to be lifted and moved with the help of a forklift or wheelbarrow by equipped and instructed in safety procedures personnel.
- The oven has to be placed on a well levelled platform. It is not necessary to be fixed to the foundation.
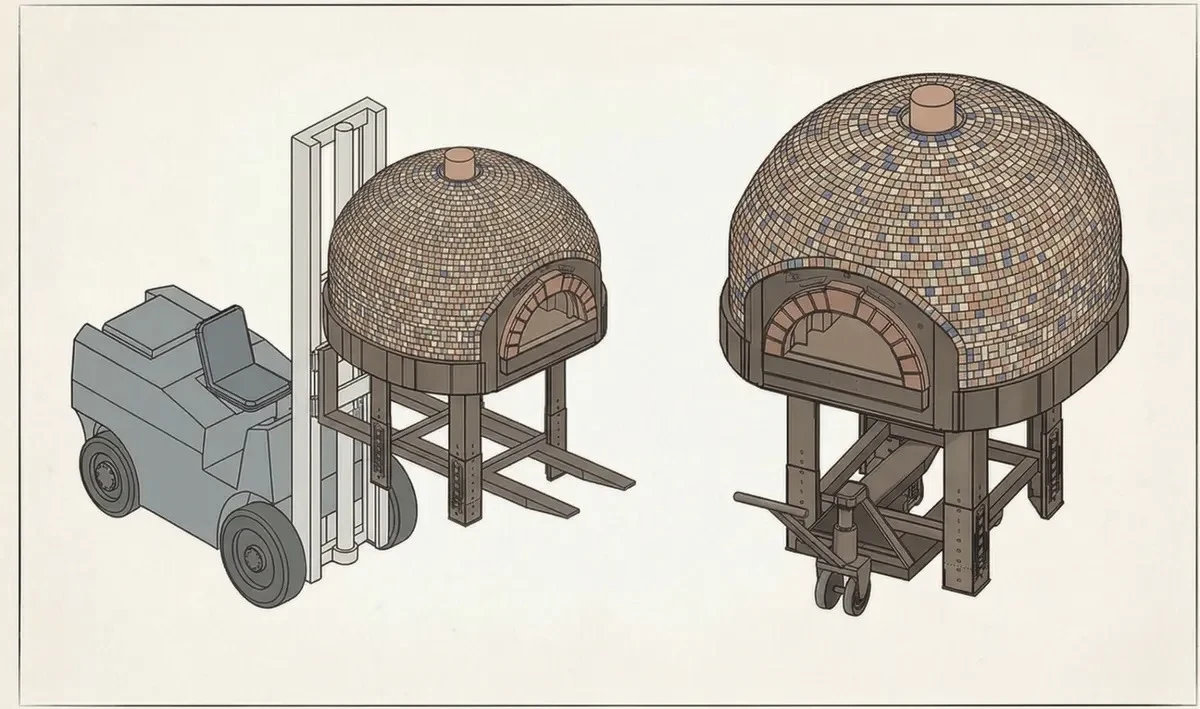
Unless expressly included in the quotation, at delivery the customer must provide a forklift able to lift up to 1,500 kg to unload the oven from the transport truck, and a pallet truck to move and position the oven inside the premises.
Leading Smoke Gases Away
Connecting the oven into the chimney is done by chimney pipes which have to be in conformity with the following conditions:
- They have to be produced from materials made to endure the heat of the smoke gases and the possible delays.
- The connections have to be well sealed and the used materials have to endure heat and corrosion.
- They have to be easily visible, easy for dismantling and assembling, and provide a possibility for thermal expansion.
- After the piece of vertical pipe, a horizontal section with an inclination of at least 3% can be installed. The length of this section does not have to exceed the useful height of the chimney.
- The change of direction is possible in no more than 3 places, including the chimney's inlet.
- The bends must not have an angle more than 90 degrees.
- The pipe diameter along the whole length has to be permanent.
The oven chimney diameter is 200 mm.
For the final installation of the chimney, please consult qualified technicians and comply with the local regulations of the country where the oven is installed.
Initial Heating
The initial heating has to be carried out very carefully, gradually increasing the temperature and usually it is performed for 2–3 days because the moisture has to be separated from the baking chamber and from the isolation layer.
⚠️ Sharply increasing the temperature in this period can lead to formation of cracks on the foundation and the cupola.
Usually, in the period of initial heating, drops of water start leaking from the oven, because this is a period of intensive drying. Taking this into consideration, electric devices and cables are not recommended to be placed in this zone.
First day
- •Put the woods to the left part of the baking chamber and light them. Do NOT put them to the right side because you may damage the thermometer.
- •Reach a temperature of about 100-150°C.
- •Leave the oven in these conditions for 8-10 hours.
Second day
- •Light the woods.
- •Reach a temperature of about 200-250°C.
- •Leave the oven in these conditions for 8-10 hours.
Third day
- •Light the woods.
- •Reach a temperature of about 300-320°C.
- •At this temperature, the oven is ready to bake pizza.